
By default, the network in WSL (Windows Sub-System for Linux) is "nat" behind your computer's IP.
To bridge the network, it is necessary to make the following configurations.
"Bridge the network" means creating a bridge between WSL and the computer's network card. It will then have an IP address provided by your network's DHCP server and will be accessible from the outside.
Installing Hyper-V
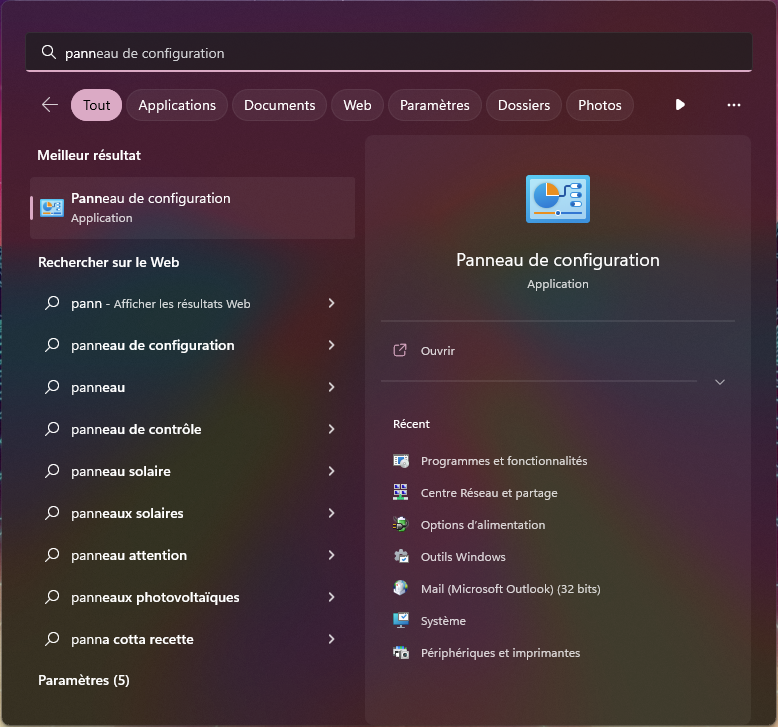
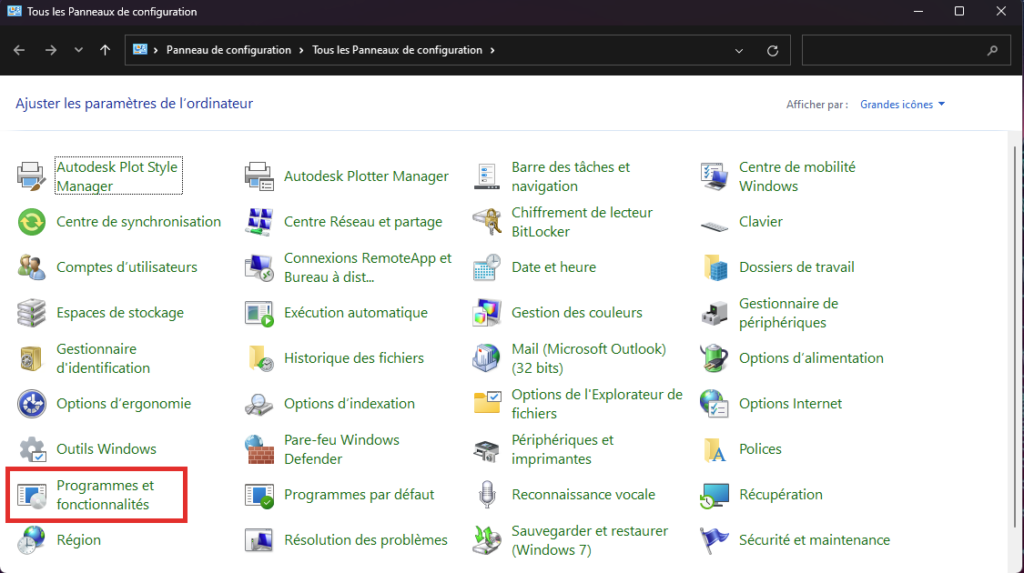
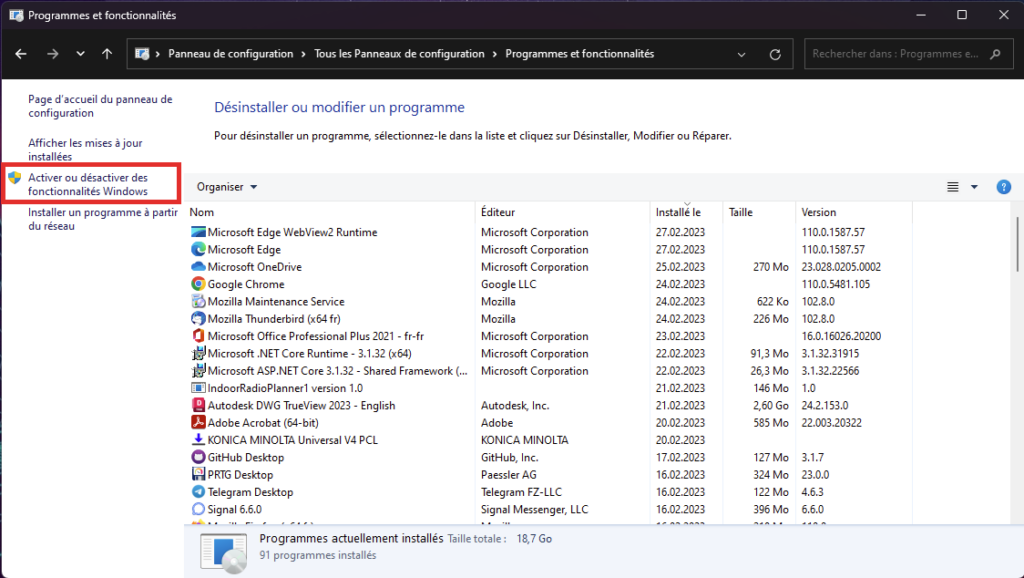
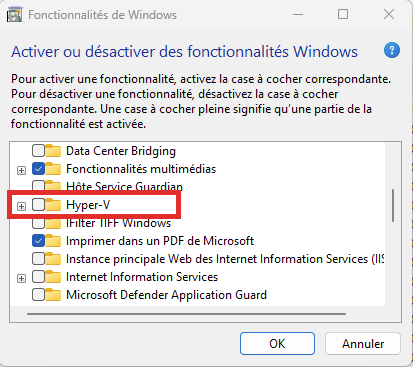
To install the Hyper-V role, open the "old" control panel by searching for "control panel"
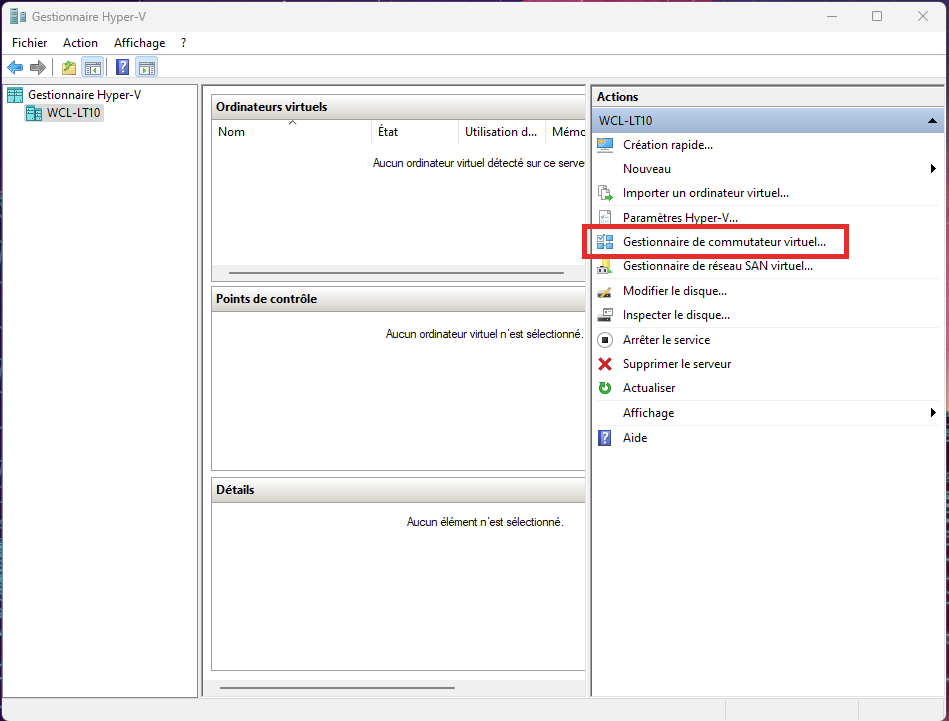
Then go to the Hyper-V management console.
It can be accessed by typing "Hyper-V Manager" in the start menu.

In the box on the right, click on "Virtual Switch Manager..."
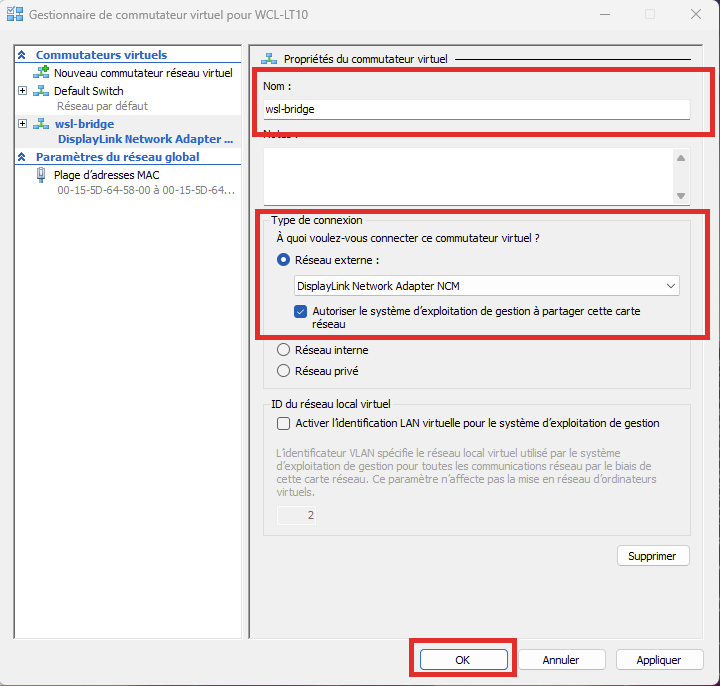
In the window that opens, click on "New virtual network switch", choose "External" and then click on "Create virtual switch".

Name the new network as desired.
In our example, I called it "WSL-Bridge".
Then choose the connection type "external network*, and choose from the drop-down list the name of the network card connected to the computer network.
Then validate the modifications, the bridge is now created.
If you are not sure of the name, it is possible to go to the control panel to see which card is connected.
The last step is to tell WSL which network it should use.
In a way, we say which network port it should connect to.
Create a new file in the root of the user profile (C:UsersYOURUSERNAME) called ".wslconfig", and insert the text below:
[wsl2]
networkingMode=bridged
vmSwitch=wsl-bridgeThen save and close the file.
For the file to be taken into account, it is necessary to force the shutdown of WSL.
To do this, run the following command in PowerShell:
wsl --shutdownOnce done, you can now reopen WSL, and the network will now be in bridge mode.