
Thanks to the containers available on Synology (respectively Container Manager ), it is possible to install almost any desired service on your Synology, provided that there is an existing container.
Jellyfin is one such application, and like any application, it receives updates. The problem is that when an update is performed, the database is recreated, and it will be necessary not only to rescan the entire library, but also to manually redo the matching for series and movies that were incorrectly detected automatically.
Back up your data
These files are not stored in the container's own storage, and will not be lost during the update.
The very first step before updating the container is to back up the database and all other data in Jellyfin. To do this, log in to your Jellyfin instance and go to the administration panel. At the bottom of the menu, click on " Backups," and then on the "Create a backup" button. Check all the boxes to back up everything. Once the backup is complete, note the backup file name; we will need it later.
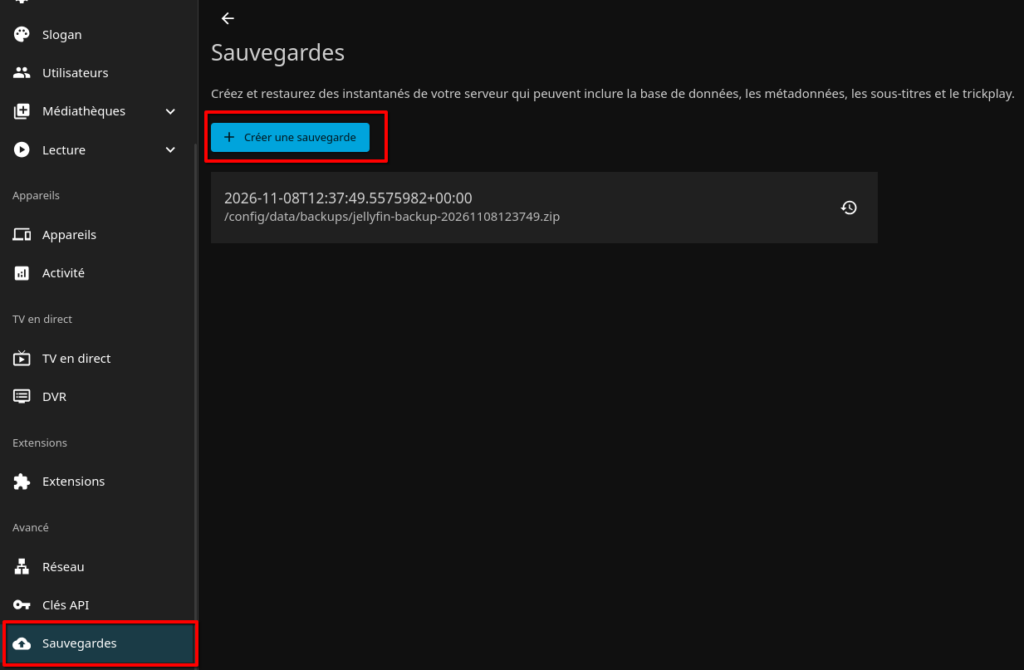
Upon analyzing the problem, it would appear that the issue is a timeout on the web interface, but the backup continues to be created.
Once it is finished, it is displayed in the interface.
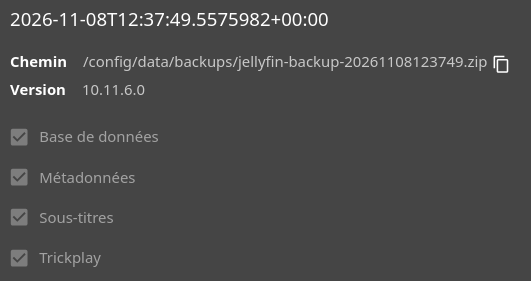
Once the backup is complete, you can click on the backup to see its path in the container.
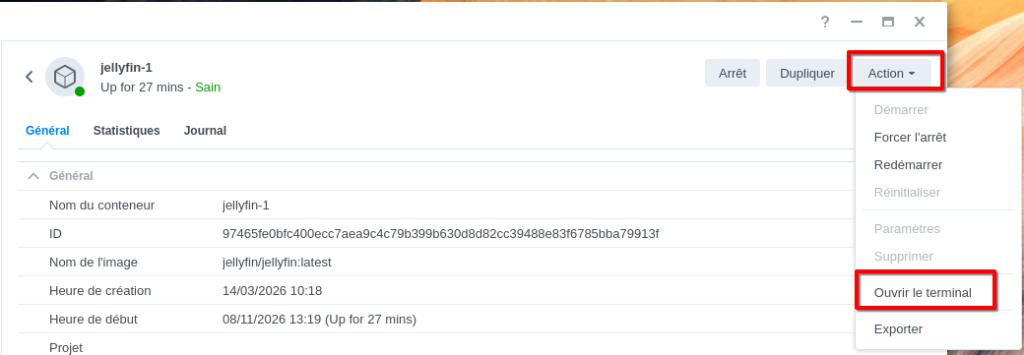
Now that the backup is complete, we'll extract it from the container's storage. Log in to DSM and go to Container Manager. Click on the container name to view the details.
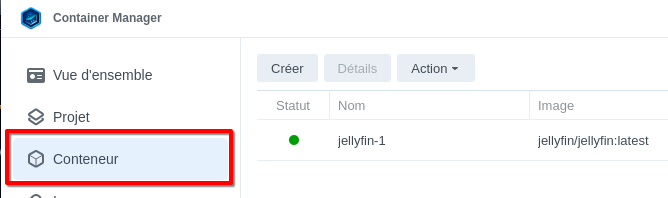
Next, click the Action button in the top right corner of the window, and finally, Open Terminal.
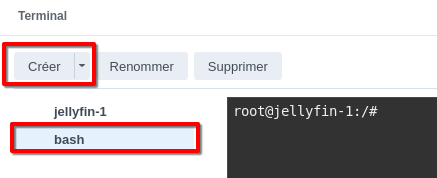
Click the Create button, then choose the line called bash to access the container's terminal.
The goal now is to copy the backup archive into the folder containing the media. In my example, the folder is called MEDIAS. So, copy the ZIP file:
cp /config/data/backups/jellyfin-backup-20261108123749.zip /MEDIA/Check in the folder that the ZIP file has been copied correctly. If OK, then proceed to the next step.
Container update
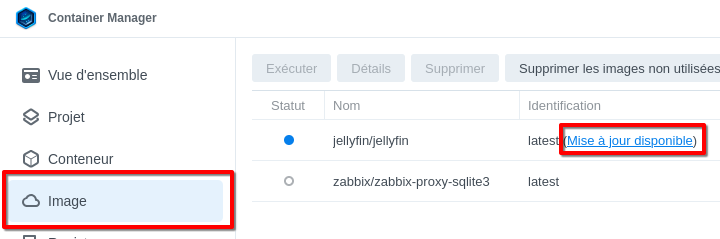
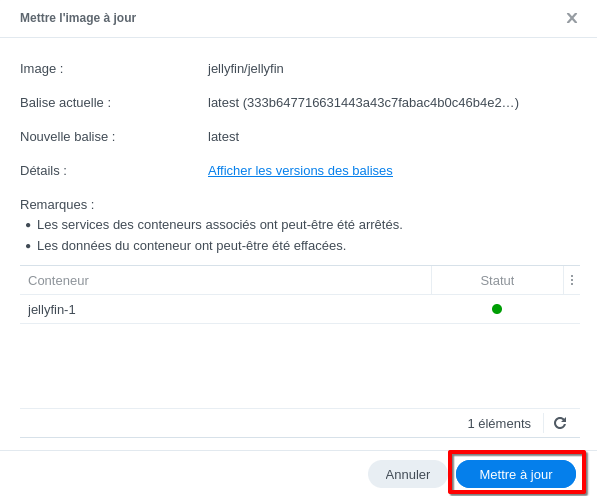
Now that the backup is safe, we can start the container update. Return to the main Container Manager window and go to the Image tab. Click on Available Updates and start the update.
The final step is to restore the backup. Connect to the server and perform a quick setup.
Return to the terminal, and type the reverse command to copy the backup to the server (it will be necessary to recreate the backups folder):
mkdir /config/data/backups
cp /MEDIAS/ /config/data/backups/jellyfin-backup-20261108123749.zip
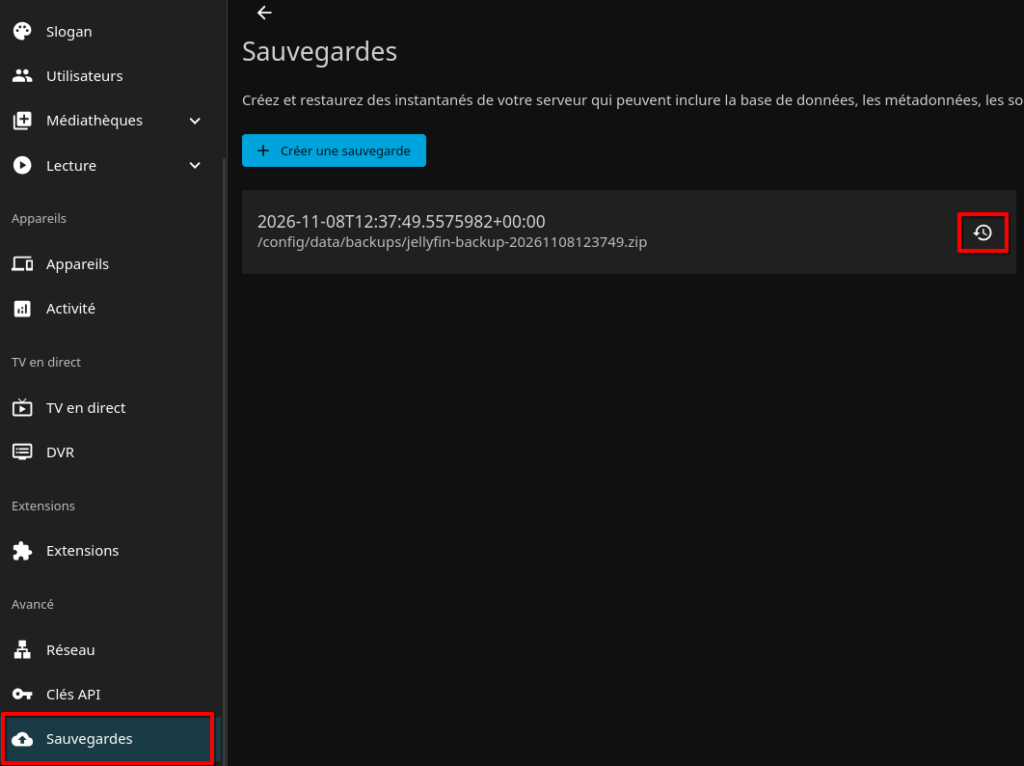
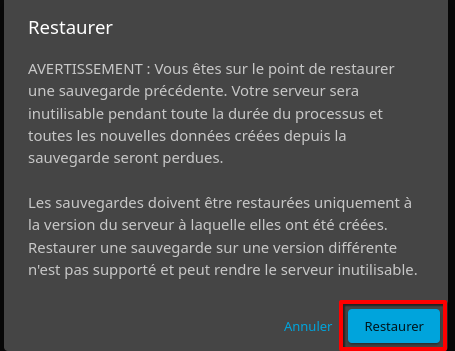
Finally, return to the save menu and restore the previous save by clicking the button:
Congratulations, your JellyFin server is now up to date, and with all its data too!